Enhancing Visual Effects in Spark AR Studio: A Step-by-Step Guide to Masking and Adding Goggles
Creating interactive and visually appealing effects in augmented reality (AR) is an exciting challenge for developers and artists. Spark AR Studio, developed by Meta, is a powerful tool that allows creators to build AR experiences for Facebook and Instagram. In this blog, we'll walk through a practical example of how to create a mask and add goggles to a face in Spark AR Studio. Whether you're new to AR or looking to refine your skills, this guide will provide you with the essential steps to bring your AR project to life.
Getting Started with Spark AR Studio
Before we dive into the tutorial, ensure you have Spark AR Studio installed on your computer. You can download it from the official Spark AR website.
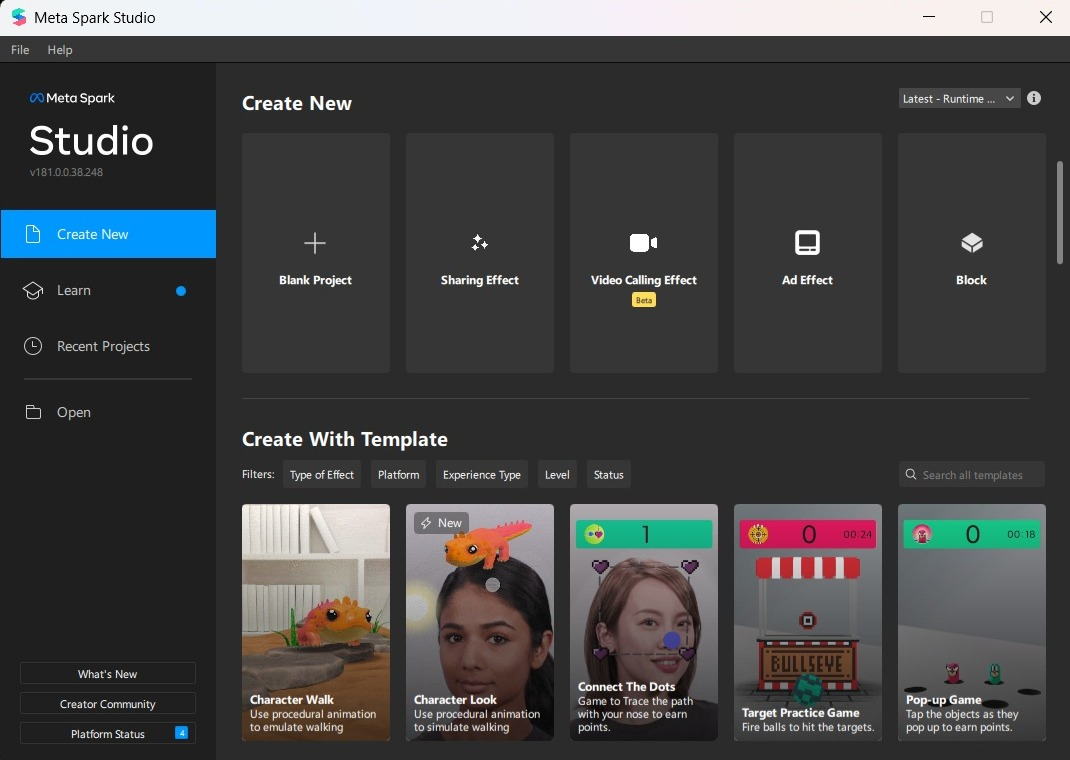
Step 1: Create a New Project

- Open Spark AR Studio and create a new project.
- Choose the Blank Project template to start from scratch.
Step 2: Import Assets

- Import 3D Models and Textures: You'll need 3D models of goggles and any textures you want to use for the mask. You can find free models online, create your own, or use assets from the AR Library.
- AR Library: Spark AR Studio provides an AR Library with a wide range of free assets including 3D models, textures, animations, and sounds. To access the AR Library:
- Click the Library button located in the bottom left corner of the Spark AR Studio interface.
- Browse or search for the assets you need. You can find pre-made models of goggles, face meshes, and various textures.
- Select the assets you want and click Import Free to add them to your project.
- From Computer: If you have your own assets, go to File > Import > From Computer and select your 3D model and texture files.

By utilizing both the AR Library and your own assets, you can create unique and customized AR effects with ease.
Step 3: Adding Face Tracker

- In the Scene Panel, click the + button and select Face Tracker. This will automatically track the user's face.
- Add a Face Mesh to the Face Tracker. The face mesh is a 3D model that conforms to the shape of the user's face.
Step 4: Create the Mask
- Select the Face Mesh in the Scene Panel.
- In the Inspector Panel, click Materials > + to create a new material.
- Name this material "MaskMaterial".
- Set the Shader Type to Face Paint.
- Import and assign your mask texture to the Texture slot of MaskMaterial. Adjust the Opacity and Color properties as needed.


Step 5: Adding Goggles


- Add the Goggles Model: Drag and drop the imported goggles model into the Face Tracker in the Scene Panel.
- Adjust the Position, Rotation, and Scale of the goggles to fit properly on the face. This may require some fine-tuning to ensure the goggles sit correctly.
Step 6: Fine-Tuning
Adjusting for Realism: To make the mask and goggles look more realistic, you can tweak the material properties.
- For the mask, you might want to adjust the Opacity and Blend Mode to make it blend better with the face.
- For the goggles, ensure the Shading is set to Standard and adjust the Specular and Metallic properties to make the goggles look reflective or matte, depending on your design.
Step 7: Adding Interactivity
- Add Animation: Incorporate simple animations to make the AR experience more engaging. For example, you can animate the goggles to slide onto the face or change colors with a tap.
- Use the Animation Player in the Assets Panel to create and control animations.
- Add Scripting: Use Spark AR's scripting capabilities to add interactive elements. For instance, tapping the screen could switch between different goggle designs.
- Go to Project > Edit Properties > Capabilities and enable Scripting.
- Use JavaScript or TypeScript to script interactions.
Step 8: Testing and Publishing
- Test on Device: Use the Spark AR Player app on your mobile device to test the effect. Connect your device to your computer and click Send to Device in Spark AR Studio.
- Fix any Issues: Based on your testing, make any necessary adjustments to the positioning and materials.
- Publish: Once you're satisfied with your effect, click Publish and follow the instructions to submit your AR effect for review.
Tips for a Better AR Experience
- Use High-Quality Assets: High-quality textures and models will enhance the overall look of your AR effect. Ensure your 3D models and textures are optimized for mobile performance.
- Optimize for Performance: Ensure your assets are optimized to prevent lag or crashes on users' devices. This includes reducing the polygon count of 3D models and compressing textures.
- Interactive Elements: Consider adding interactive elements like tap gestures to change the goggles' style or color. Interactivity keeps users engaged and makes your effect more dynamic.
- Lighting and Shadows: Pay attention to lighting and shadows to add realism. Use Spark AR's environment lighting to make the goggles and mask look more natural.
- User Experience: Design with the user in mind. Ensure that the mask and goggles fit a variety of face shapes and sizes, and test the effect under different lighting conditions.
Advanced Techniques
Custom Shaders
To push your AR effect further, you can create custom shaders for unique visual styles. Spark AR Studio supports GLSL and JavaScript for shader development. Custom shaders can be used to create unique visual effects like holographic appearances, pixelated looks, or dynamic patterns on your mask and goggles.
Dynamic Textures
Incorporate dynamic textures that change based on user interaction or environmental factors. For instance, you could create a texture that reacts to ambient light or changes color when the user smiles. Use scripting to achieve these dynamic effects, making your AR experience more immersive.
Particle Systems
Add particle systems to enhance the visual appeal. For example, you can create a particle effect that triggers when the goggles are placed on the face. Spark AR Studio allows you to create and customize particle systems for a variety of effects, such as sparkles, smoke, or fire.
Facial Expression Triggers
Leverage facial expression triggers to make your AR effect more interactive. You can create actions that respond to the user's facial expressions, like making the goggles glow when the user raises their eyebrows or change color when they smile. This adds a layer of personalization and fun to the experience.
Conclusion
Creating AR effects in Spark AR Studio is both a creative and technical process. By following these steps, you can create engaging and immersive AR experiences that stand out on social media. Keep experimenting with different designs and features to push the boundaries of what's possible in AR. With practice and creativity, you'll be able to create stunning effects that captivate your audience. Happy creating!
For more tutorials and resources, visit the Spark AR Community.

Comments
Post a Comment